Integrate with Wiki.js
Support level: Community
What is Wiki.js?
Wiki.js is a wiki engine running on Node.js and written in JavaScript. It is free software released under the Affero GNU General Public License. It is available as a self-hosted solution or using "single-click" install on the DigitalOcean and AWS marketplace.
This is based on authentik 2022.11 and Wiki.js 2.5. Instructions may differ between versions.
Preparation
The following placeholders are used in this guide:
wiki.companyis the FQDN of the Wiki.js installation.authentik.companyis the FQDN of the authentik installation.
This documentation lists only the settings that you need to change from their default values. Be aware that any changes other than those explicitly mentioned in this guide could cause issues accessing your application.
Wiki.js pre-configuration
In Wiki.js, navigate to the Authentication section in the Administration interface.
Add a Generic OpenID Connect / OAuth2 strategy and take note of the Callback URL / Redirect URI in the Configuration Reference section at the bottom.
authentik configuration
In authentik versions earlier than 2026.5, all Redirect URIs are automatically treated as Authorization type. If you are using one of these older authentik versions, add only the Authorization URL to your Redirect URIs and do not configure a Post Logout URI.
To support the integration of Wiki.js with authentik, you need to create an application/provider pair in authentik.
Create an application and provider in authentik
- Log in to authentik as an administrator and open the authentik Admin interface.
- Navigate to Applications > Applications and click New Application to open the application wizard.
- Application: provide a descriptive name, an optional group for the type of application, the policy engine mode, and optional UI settings.
- Choose a Provider type: select OAuth2/OpenID Connect as the provider type.
- Configure the Provider: provide a name (or accept the auto-provided name), the authorization flow to use for this provider, and the following required configurations.
- Note the Client ID, Client Secret, and slug values because they will be required later.
- Add a Redirect URI of type
StrictAuthorizationashttps://wiki.company/login/id-from-wiki/callback. - Select any available signing key.
- Configure Bindings (optional): you can create a binding (policy, group, or user) to manage the listing and access to applications on a user's Application Dashboard page.
- Click Submit to save the new application and provider.
Wiki.js configuration
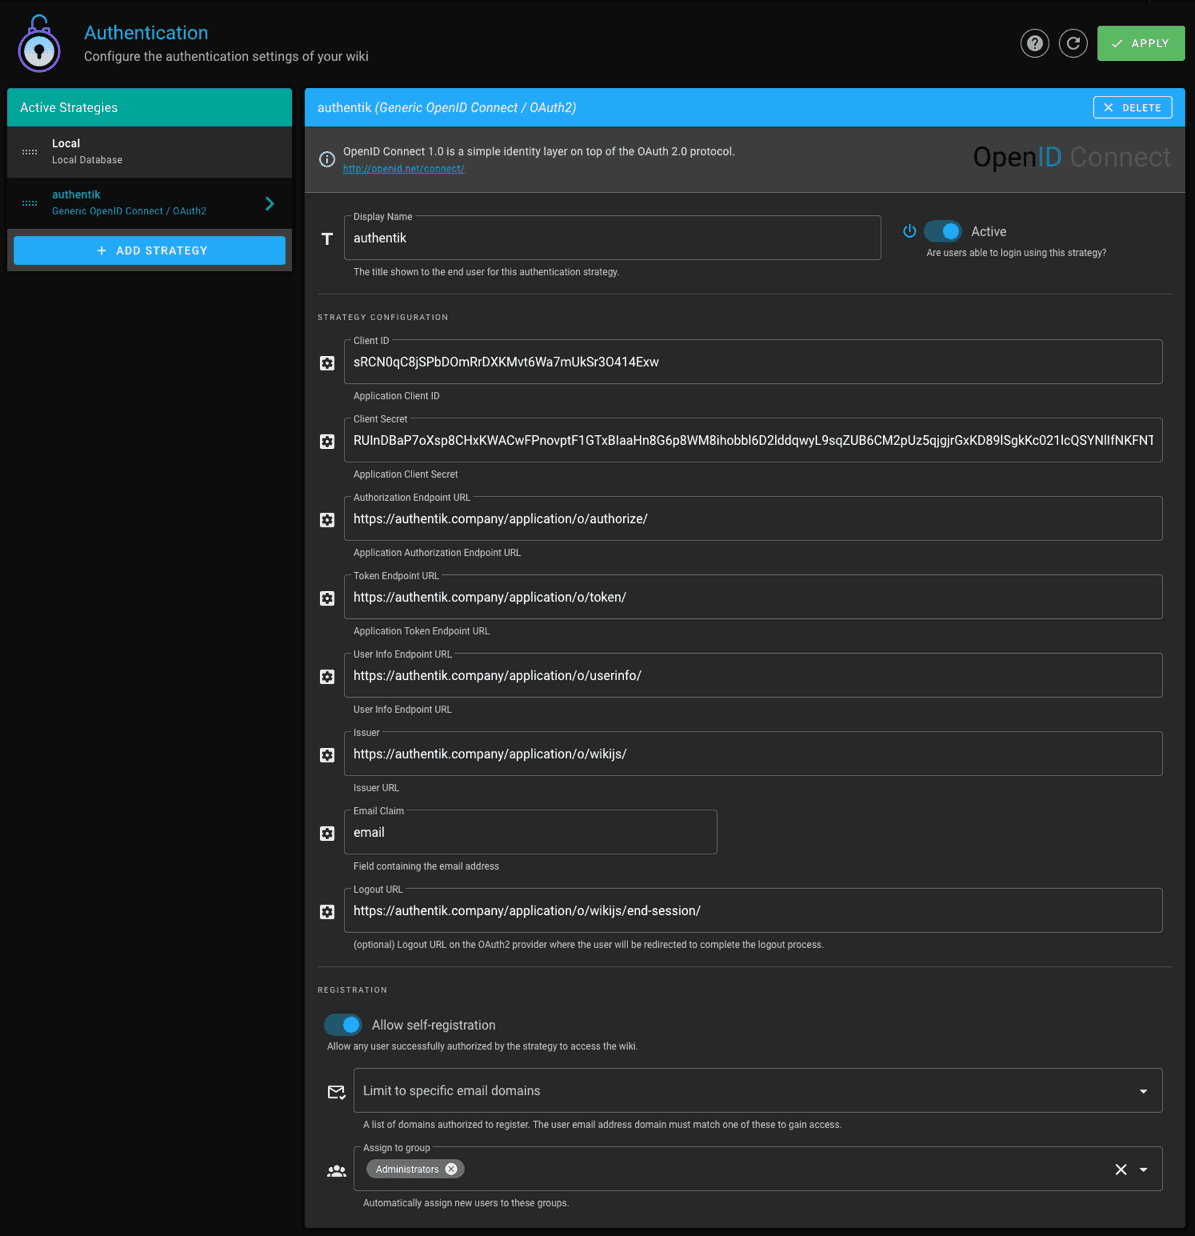
In Wiki.js, configure the authentication strategy with these settings:
- Client ID: Client ID from the authentik provider.
- Client Secret: Client Secret from the authentik provider.
- Authorization Endpoint URL:
https://authentik.company/application/o/authorize/ - Token Endpoint URL:
https://authentik.company/application/o/token/ - User Info Endpoint URL:
https://authentik.company/application/o/userinfo/ - Issuer:
https://authentik.company/application/o/<application_slug>/ - Logout URL:
https://authentik.company/application/o/<application_slug>/end-session/ - Allow self-registration: Enabled
- Assign to group: The group to which new users logging in from authentik should be assigned. (Please note that this takes precedence over Map Groups in recent versions of Wiki.js.)
You do not have to enable "Allow self-registration" and select a group to which new users should be assigned, but if you don't, you will have to manually provision users in Wiki.js and ensure that their email addresses match the ones they have in authentik.
Wiki.js has a Map Groups feature, which will assign users to Wiki.js groups seen in the token received from authentik. To use this feature, the value of Groups Claim (e.g. wiki-groups) must be included in the profile claim from authentik. To set this up:
- In authentik, navigate to Customization > Property Mappings and click New Property Mapping.
- Choose Scope Mapping.
- Give the mapping an appropriate name.
- Set Scope name to
profile, which causes this mapping to be included inside the existingprofileclaim. - Set Expression to:
return {"wiki-groups":["Administrators"]} if ak_is_group_member(request.user, name="WikiAdmins") else {}
- Click Create to save the mapping.
- In authentik, navigate to Applications > Providers and edit your Wiki provider.
- Under Advanced protocol settings, scroll down to Scopes. Select your new mapping in Available Scopes and move it to Selected Scopes.
- Click Save Changes.
The above causes a new value
wiki-groupsto be included inside theprofileclaim if the user is part of the authentik groupWikiAdmins. Wiki.js will then iterate over allwiki-groupsvalues and assign the user to each group if the group exists in Wiki.js. Wiki.js removes the user from all existing groups of which they were a member.
If you're using self-signed certificates for authentik, you need to set the root certificate of your CA as trusted in Wiki.js by setting the NODE_EXTRA_CA_CERTS variable as explained here: https://github.com/Requarks/wiki/discussions/3387.